
Your first repository
Everything in Git Manager happens inside a repository tab. This page walks you through the first session: getting a repository open, and connecting the one account the app can use on your behalf.
Open, create or clone
A fresh launch (and every ⌘T) lands on the New Tab page:
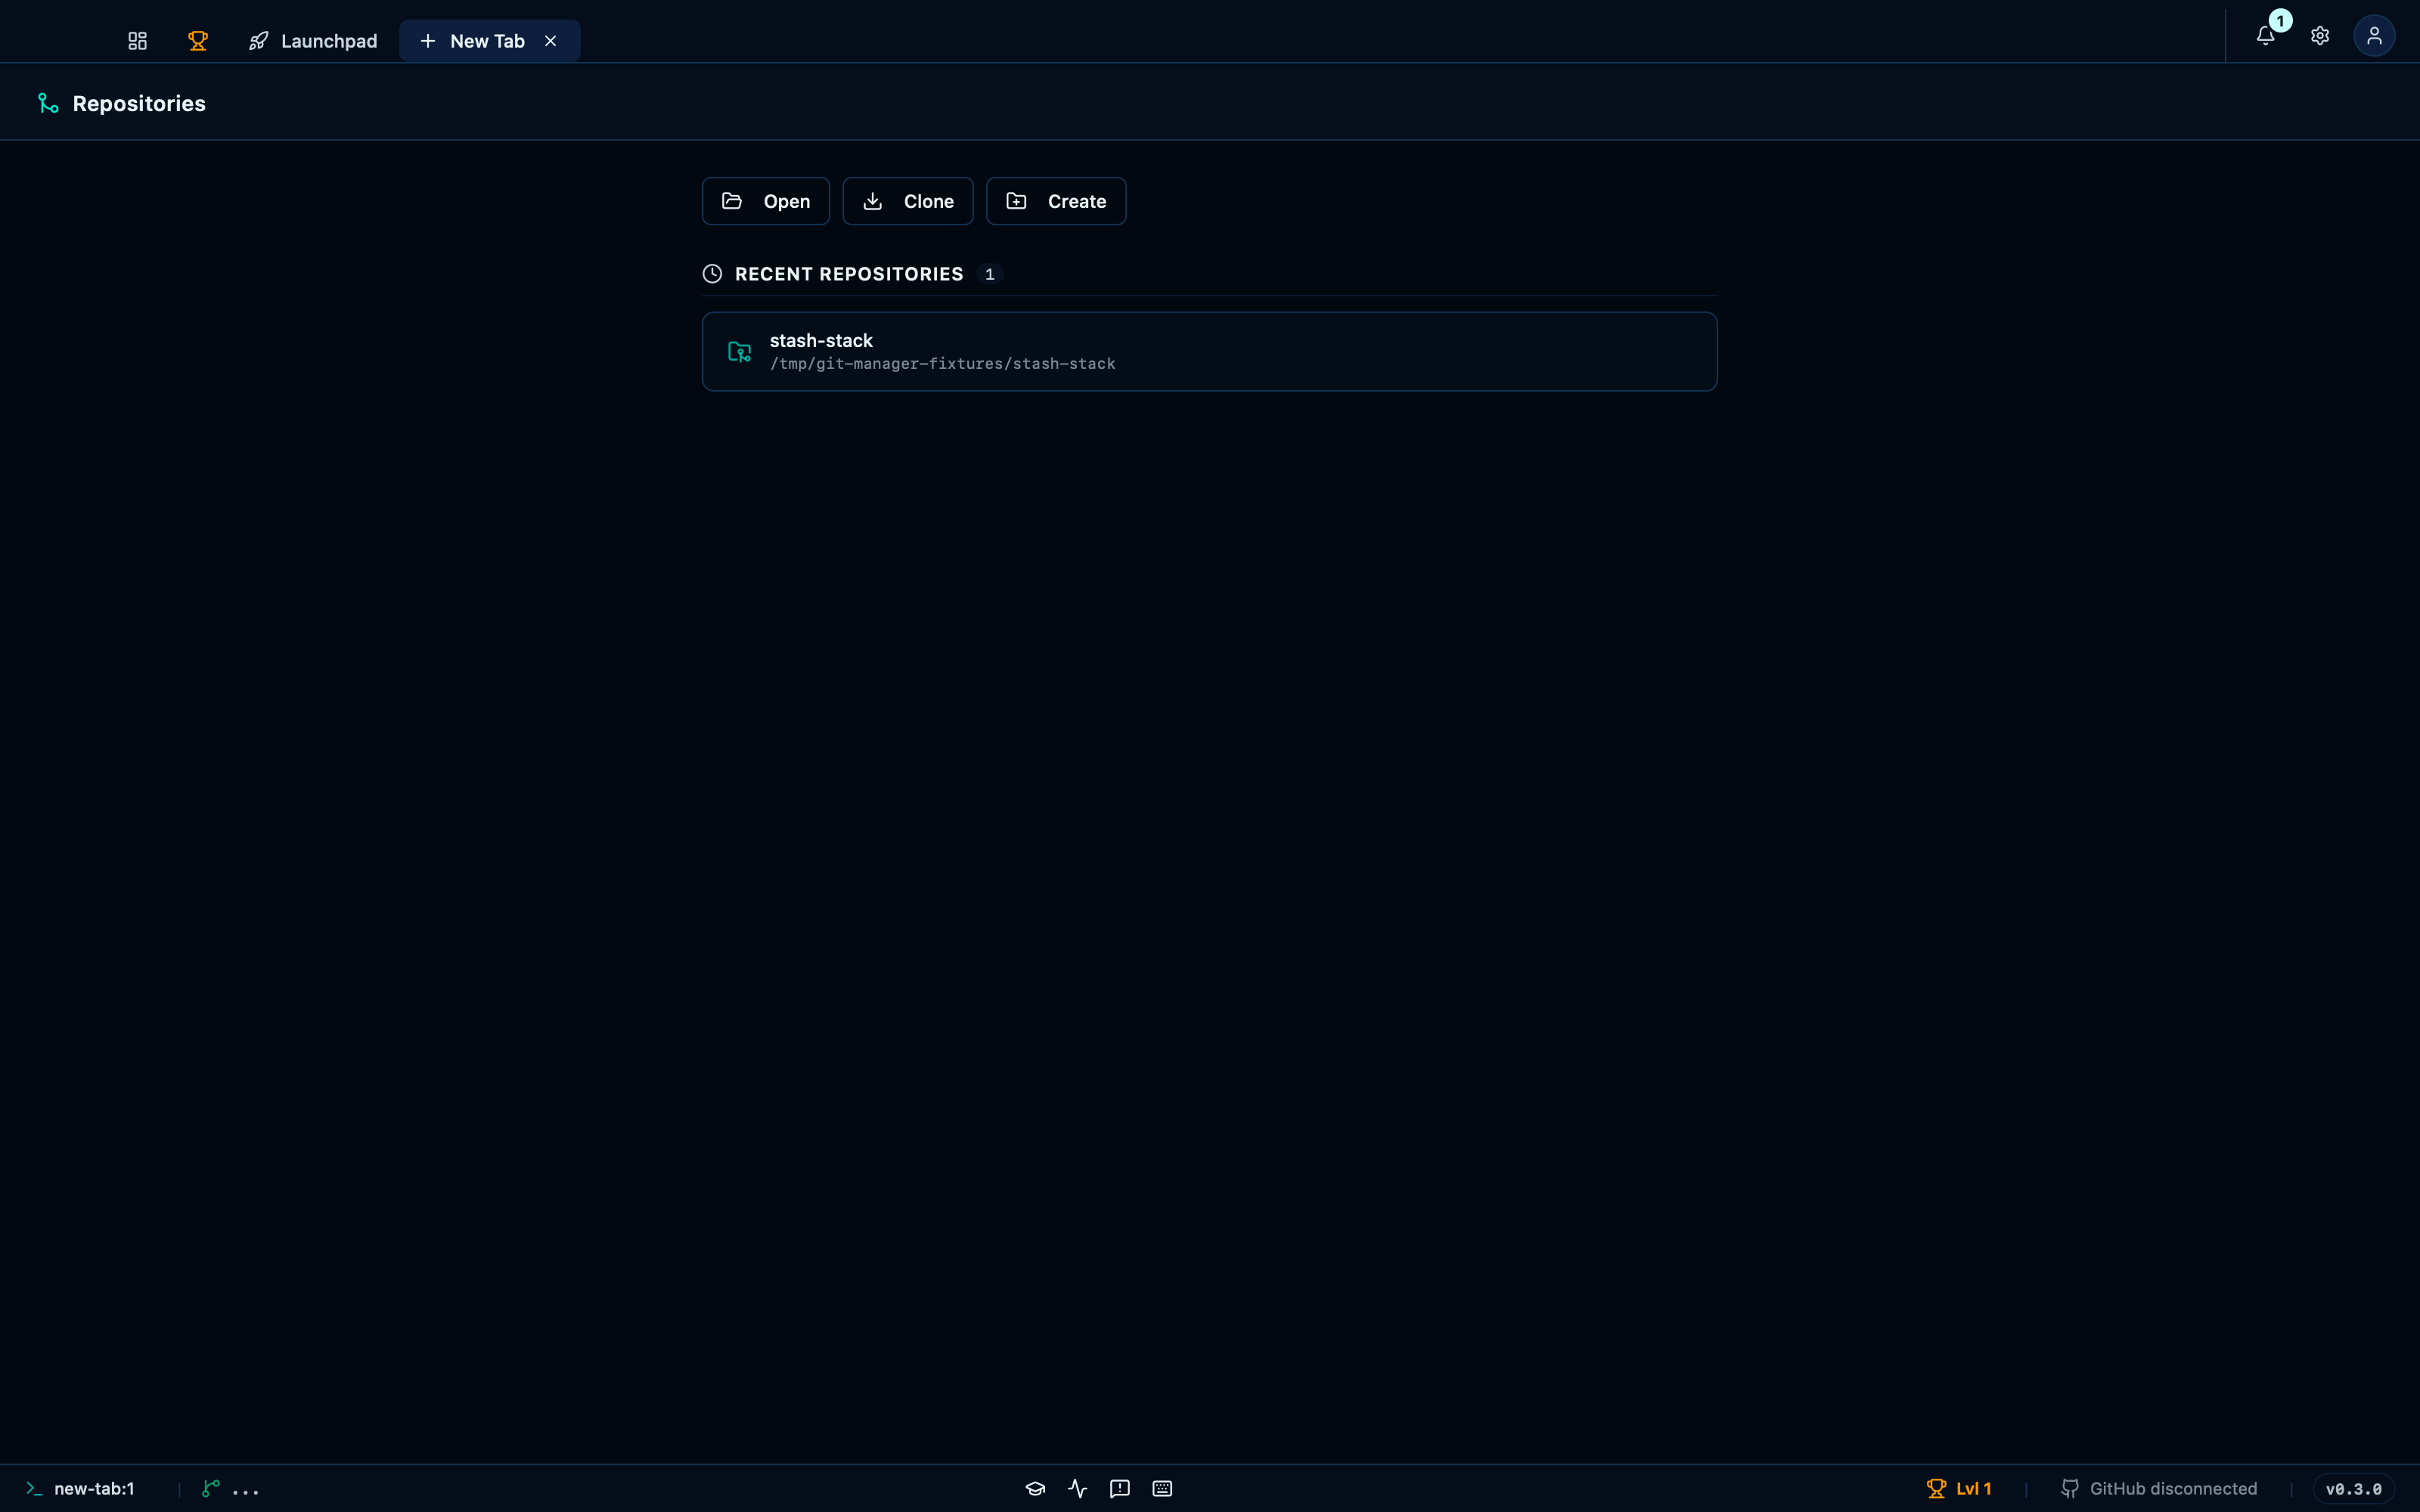
From here there are four ways in:
- Recent repositories — every repository you've opened before, most recent first. Picking one reopens it straight into the tab. This list is where you'll live after the first day; Opening a repository covers it in detail.
- Open — browse to any folder that's already a Git repository.
- Create — pick a folder and Git Manager runs the
git initfor you, so a brand-new project starts from the app. - Clone — paste a repository URL (HTTPS or SSH) and choose where the copy should live. For private repositories over SSH, the app uses your SSH keys — you can generate a pair from Settings → SSH if you don't have one (Settings shows how).
Open, Create and Clone all end at your Mac's native folder picker, then drop you into the commit graph — the view every repository opens on.
Connect your GitHub account
Git Manager works fully offline, and no account is ever required to use it on local repositories. Connecting GitHub unlocks the parts of the app that talk to it:
- the Launchpad — your pull requests, reviews waiting on you, issues, and commit stats across repositories;
- the notification tray — the bell in the toolbar, which collects review requests and merges as they happen.
To connect, open Settings → Integrations and start the sign-in. Settings shows the flow: the app displays a one-time device code, sends you to github.com/login/device to type it, and never sees your password — that's GitHub's official device flow. The token it produces goes straight into your macOS Keychain, where you can inspect or revoke it at any time (see Private by design).
Where next?
Learn the window's fixed landmarks in the interface overview, then how to read the commit graph.